Welcome to Worknice, the people platform for mid to large size business
This is your guide to getting started with Worknice. If you’re new to setting up modern SaaS apps in your workplace, this guide should get you off to a cracking start!
What is Worknice?
Worknice is an HRIS platform that empowers HR teams to tackle challenges as they arise, and create great workplaces that truly reflect their unique spirit.
With Worknice, you have a core platform that tackles everyday HR requirements like onboarding new hires, automating people compliance, creating intuitive self serve spaces and more.
Let’s get started ✨
Let’s get started with the stuff every business needs to do without thinking about their unique configurations. What we’ll be covering…
1 - Make Worknice your own
2 - Import your people
3 - Import your positions
4 - Integrate with other platforms
1. Make Worknice your own
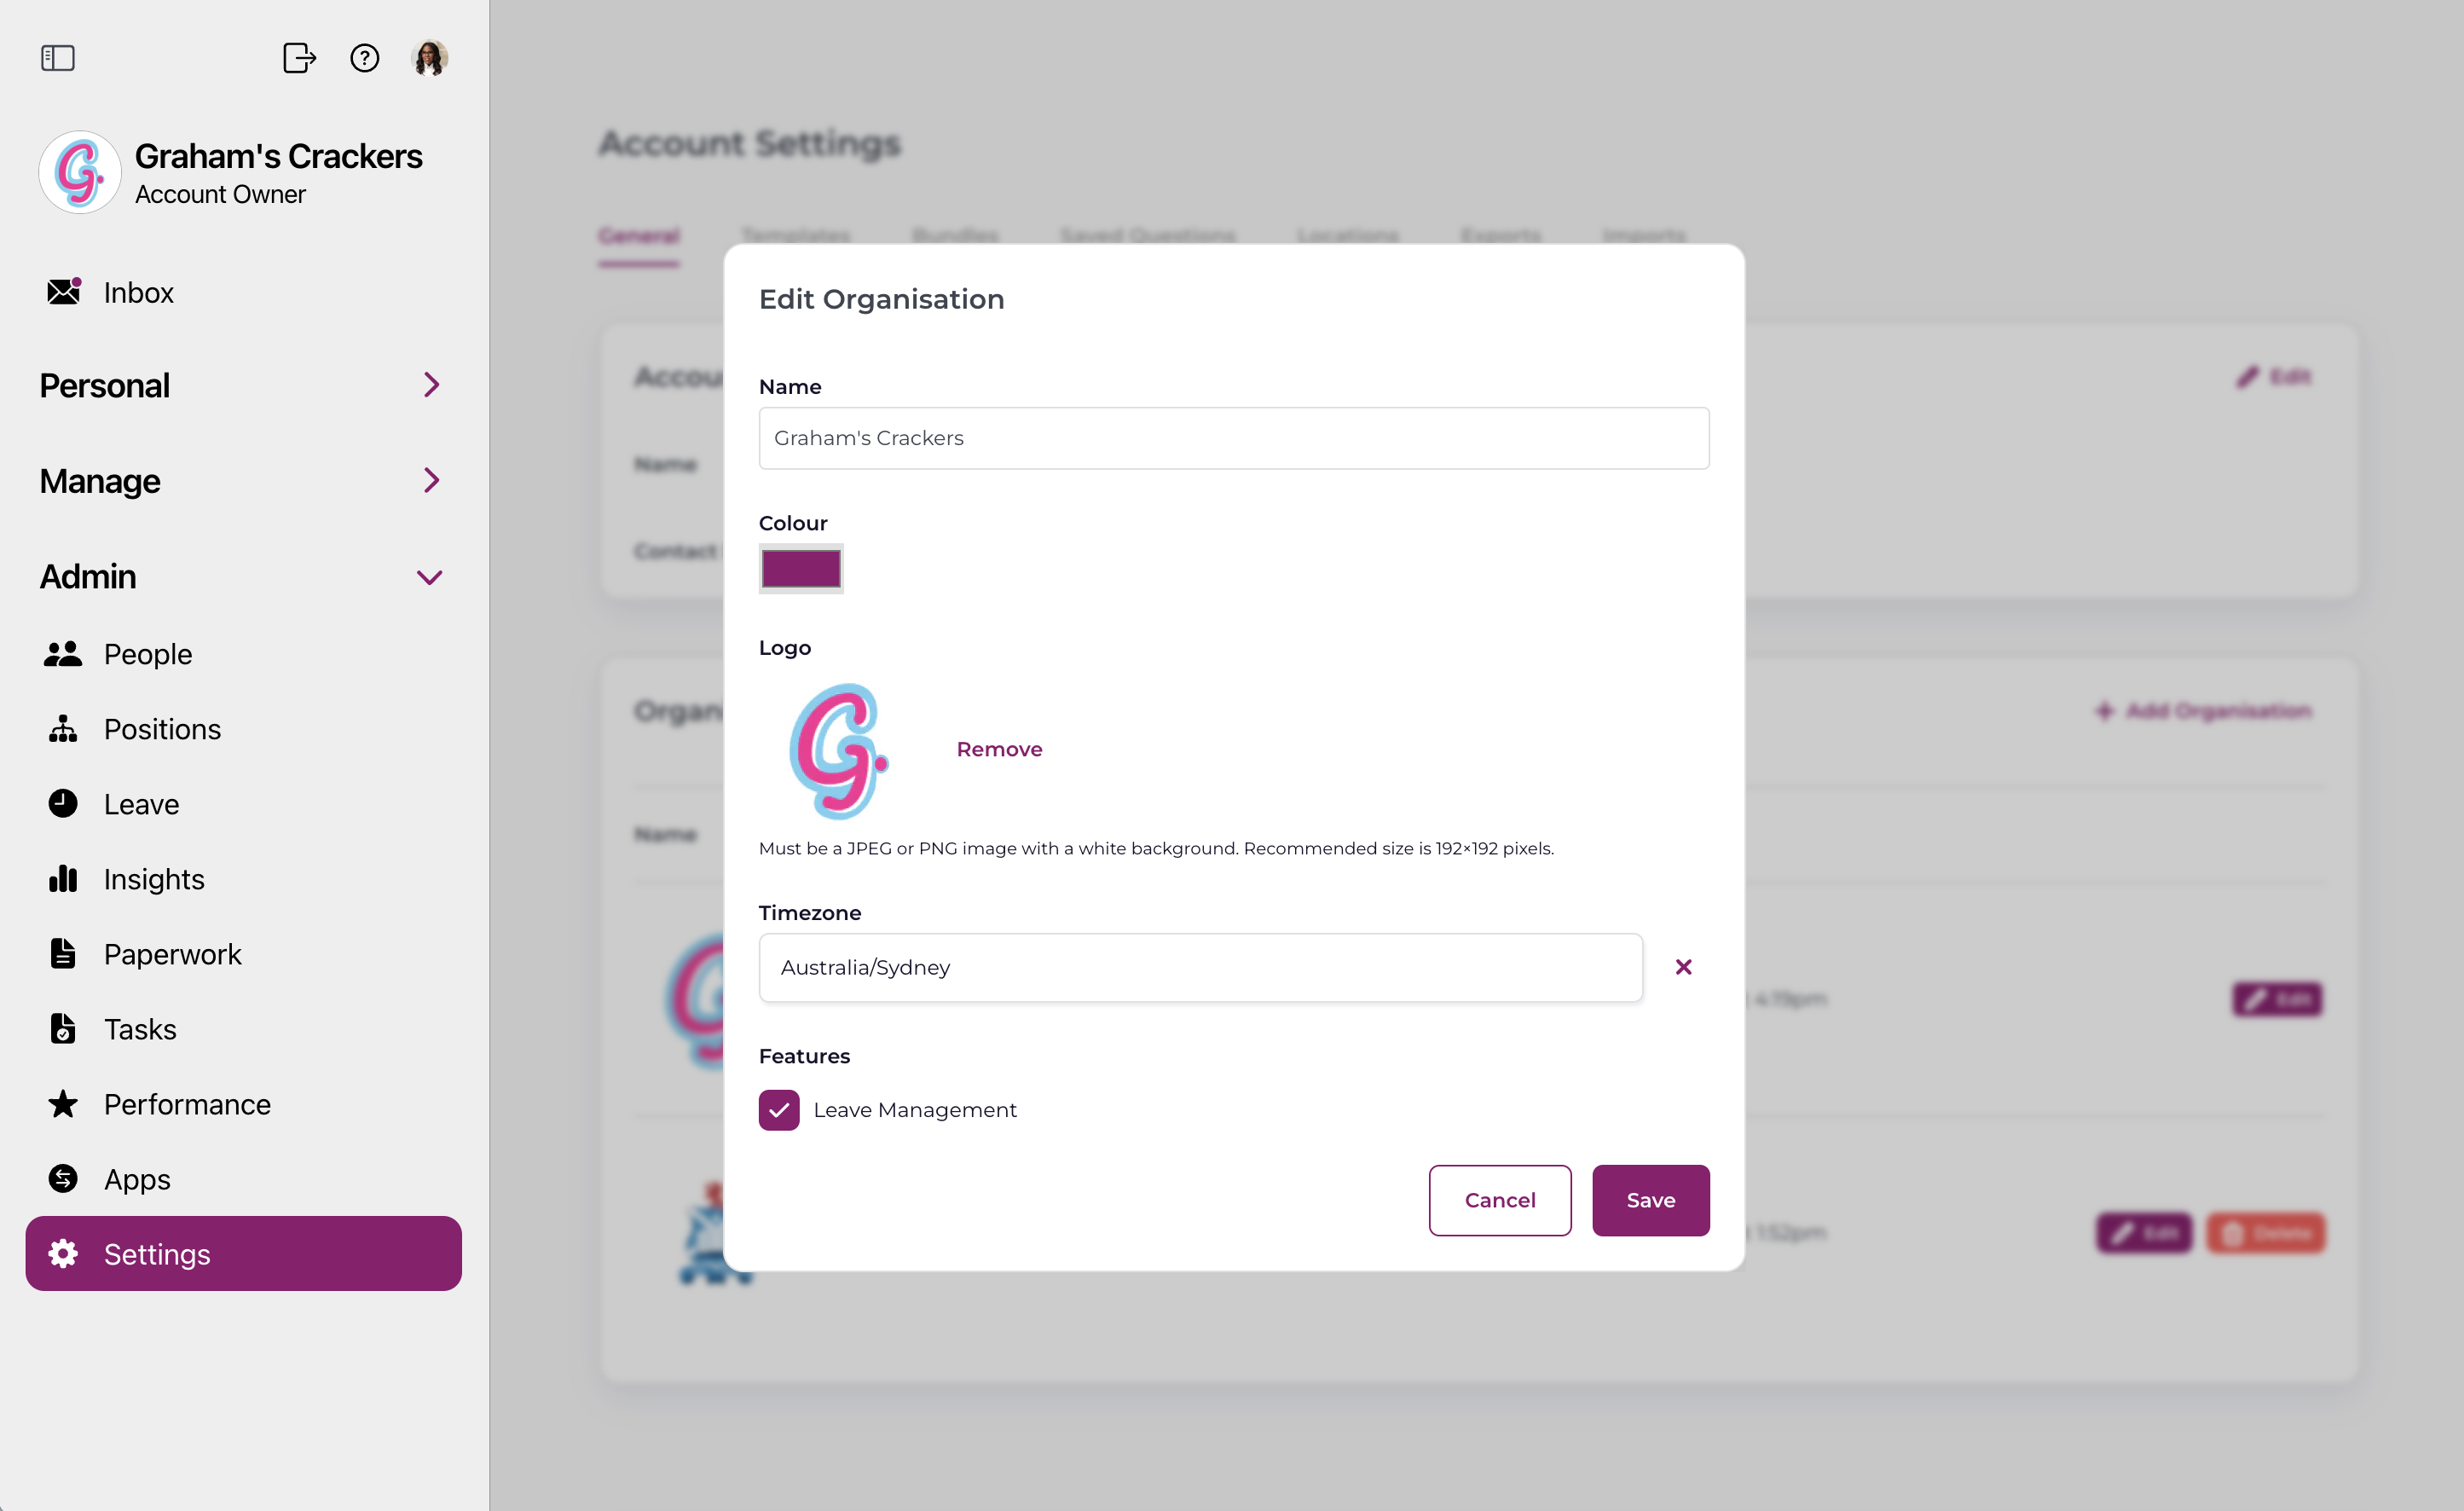
The first step is to make Worknice your own by adding in your logo, timezone and locations.
Let’s do it!
Add your company logo
Your company logo will appear in the menu for all people in Worknice, but it will also add a nice branding touch to your onboarding flows for new hires. So let’s get it into Worknice now.
Go to settings, general and then in the Organisations card, click edit on the org you want to add a logo to.

Upload your logo.
But wait! Your logo needs to be the right ratio and size if it will look any good. Here’s how
- Dimensions: square, preferable 200px x 200px
- Saved as a jpeg on a white background (so it looks good in dark mode)
- The logo should be an icon type (like what you would use on facebook or LinkedIin)
- Keep the icon within a circular space - see the white space in the below sample

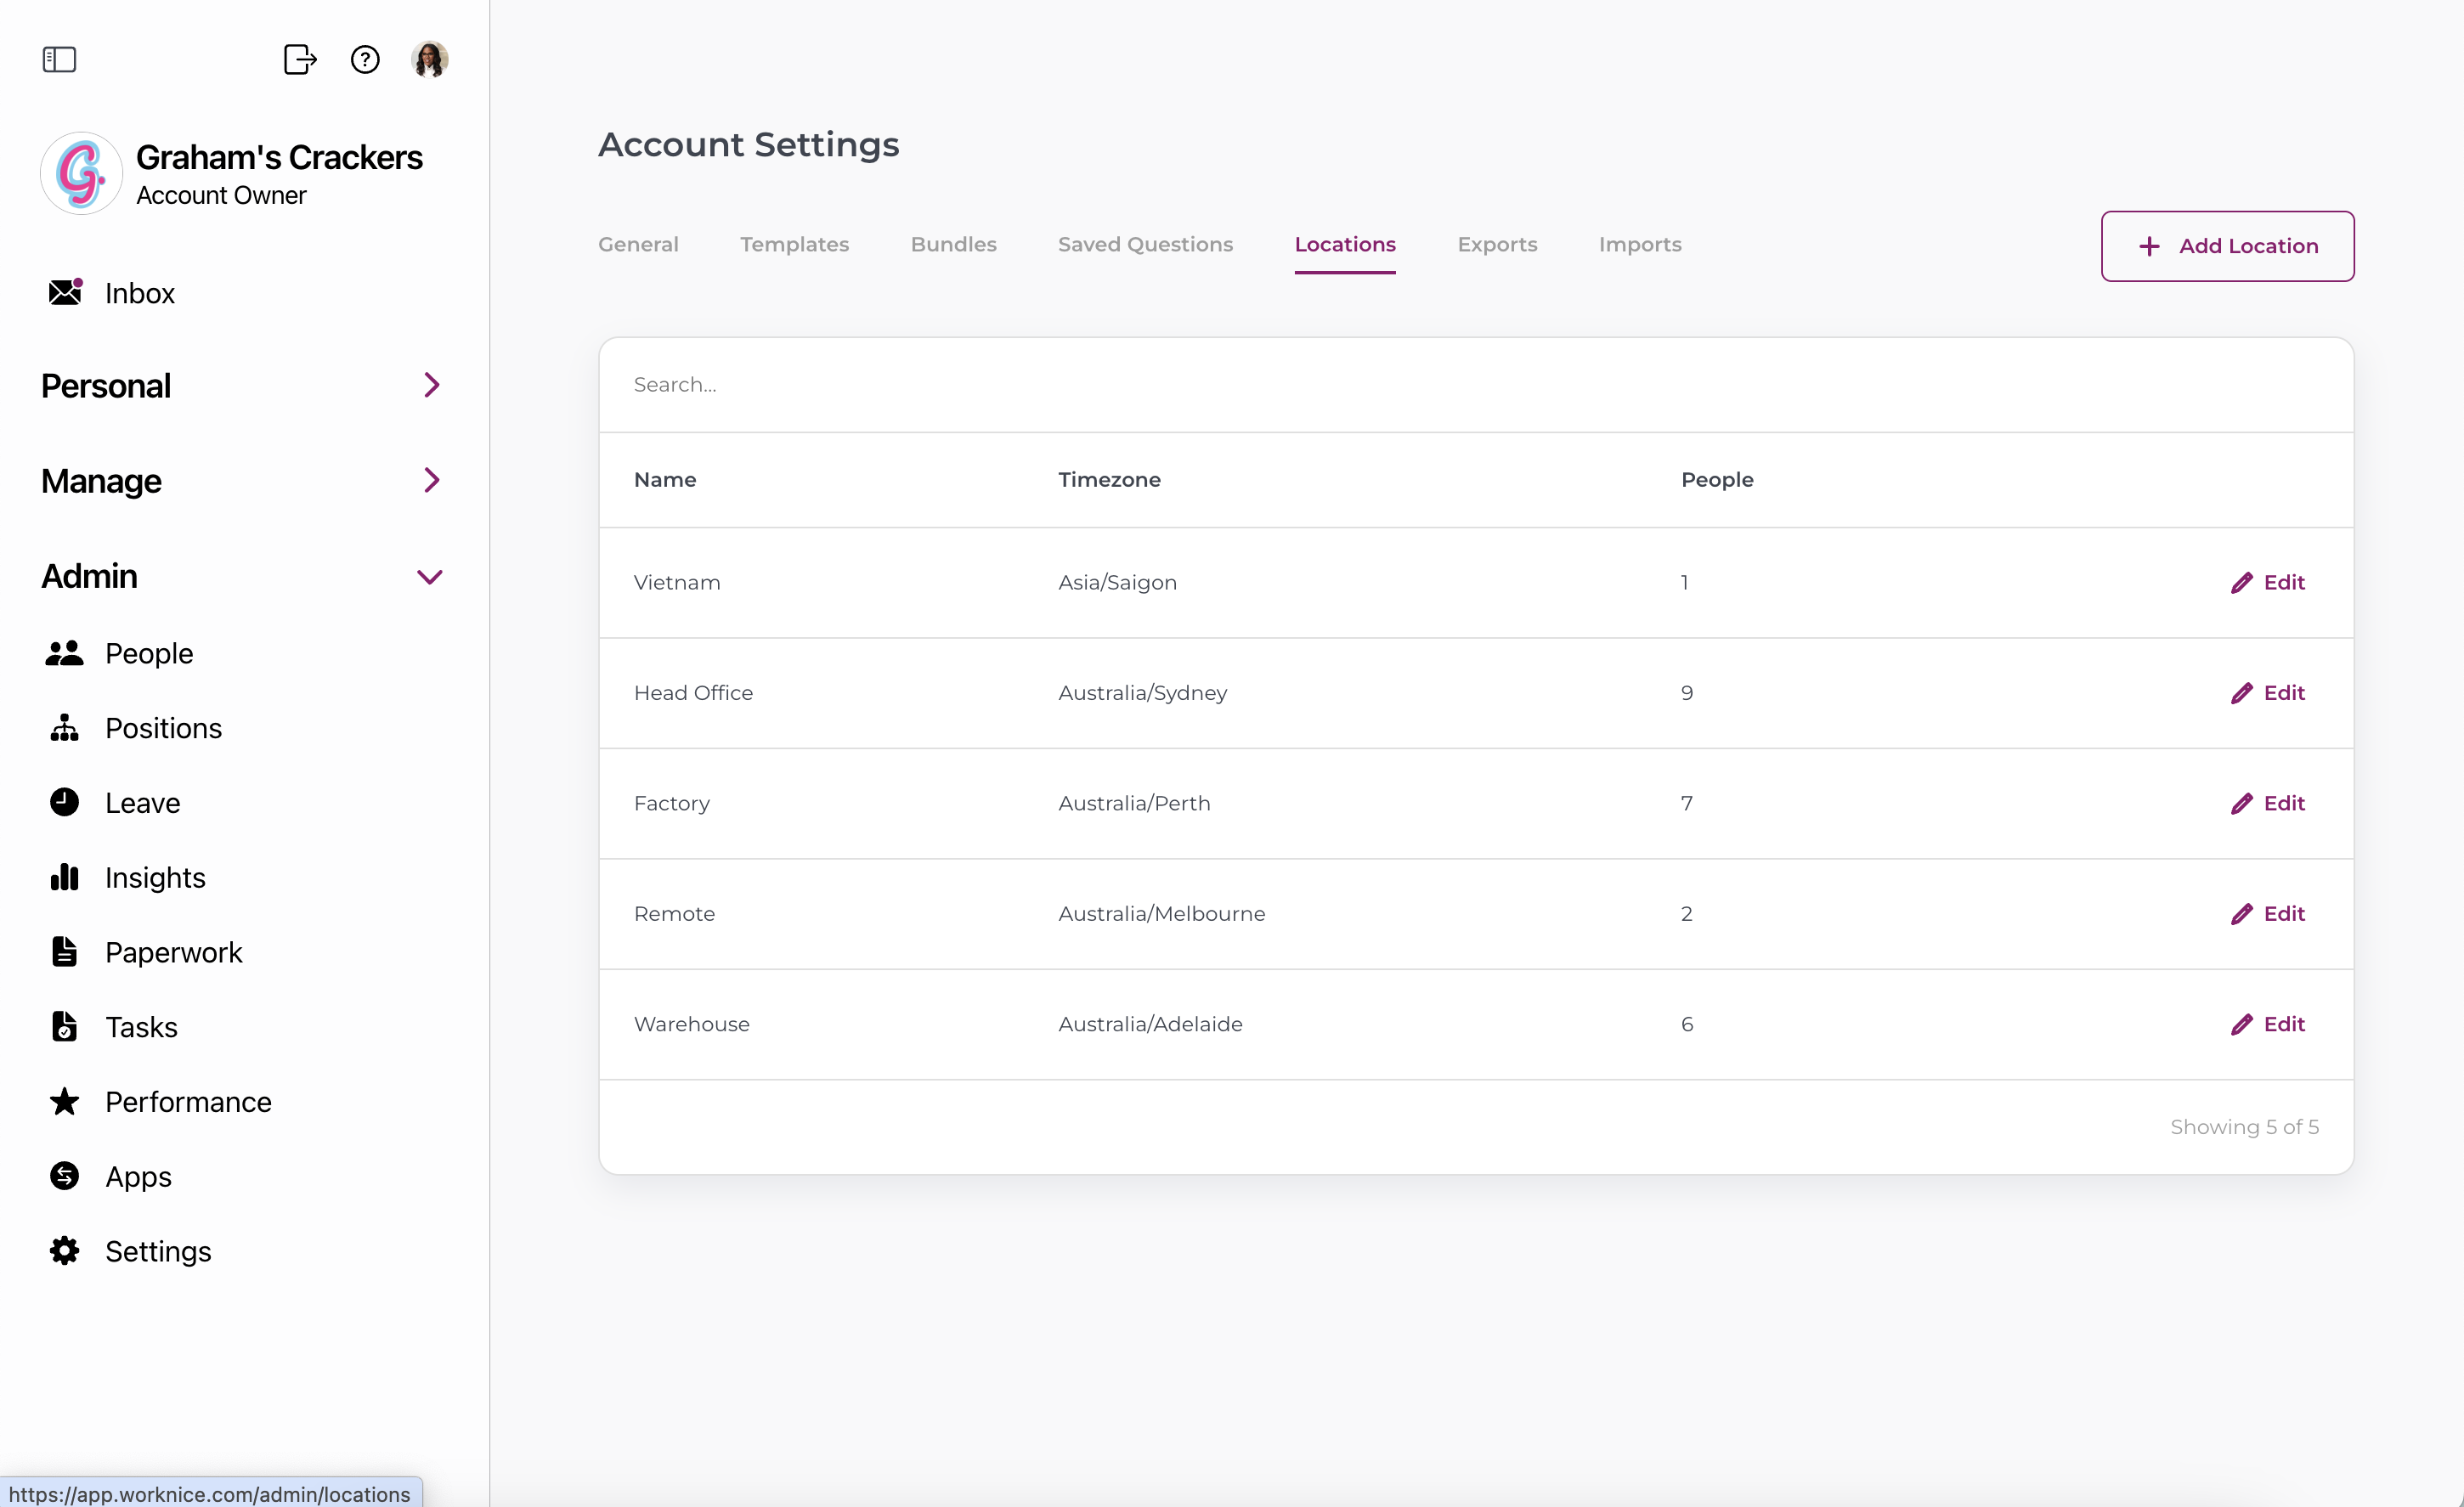
Add your company locations & timezones
Within Worknice you will be able to filter people and paperwork by their location, and if you have our Insights add on, you can filter reports by location too. Have a think about your locations - is it by office, by store, by state or country. Once you know how you would like to segment your data, let’s get your locations in.
Go to Settings, Locations and Add Location to get going.

2. Import your people
To be able to enhance your already incredible workplace, you’ll need to add all your people into Worknice.
If you have a payroll that supports integration with Worknice, you can import them in via integration.
If not, you can import your people through a CSV upload using the below template
https://docs.google.com/spreadsheets/d/1PYWLiU0QFcrNDdfh4Pz9bKR5NPJwyRjkbDyINnSv6tM/edit?usp=sharing
3. Import your positions
To be able to create an automatically generated org chart and track historical job changes among your staff, you’ll need to start by adding all your current organisation positions, the people that hold them (jobs), and the reporting line within.
You can import your positions through a CSV upload
https://docs.google.com/spreadsheets/d/1lWG3w9ozsDvgptY9jDXvKIBThttW6TeS3or0evZfghg/edit?usp=sharing
4. Integrate with other platforms
There are literally 100’s of great apps that are available to HR teams to do amazing work. And within these apps there are 100’s of workflow or automation ideas HR teams have to streamline process.
Modern software these days leverage market leading workflow and integration platforms. And one of the best is Zapier - and we’re on it!
There are a number of workflows and cool ideas you can explore, but for now, start by connecting all your apps that are available on Zapier - including Worknice.