Getting Started
Streamline Leave Management with Worknice + MYOB Advanced
Managing leave shouldn’t be a headache—but for many businesses using MYOB Advanced, it often is. From a clunky user experience to a lack of visibility into past and future leave, plus the frustration of manual admin work, traditional leave management can slow your team down.
That’s why Worknice has built a seamless integration with MYOB Advanced, designed to enhance leave management and solve these common challenges. With this powerful connection, employees can easily request leave, managers get full visibility, and HR teams save valuable time.
Integration Features
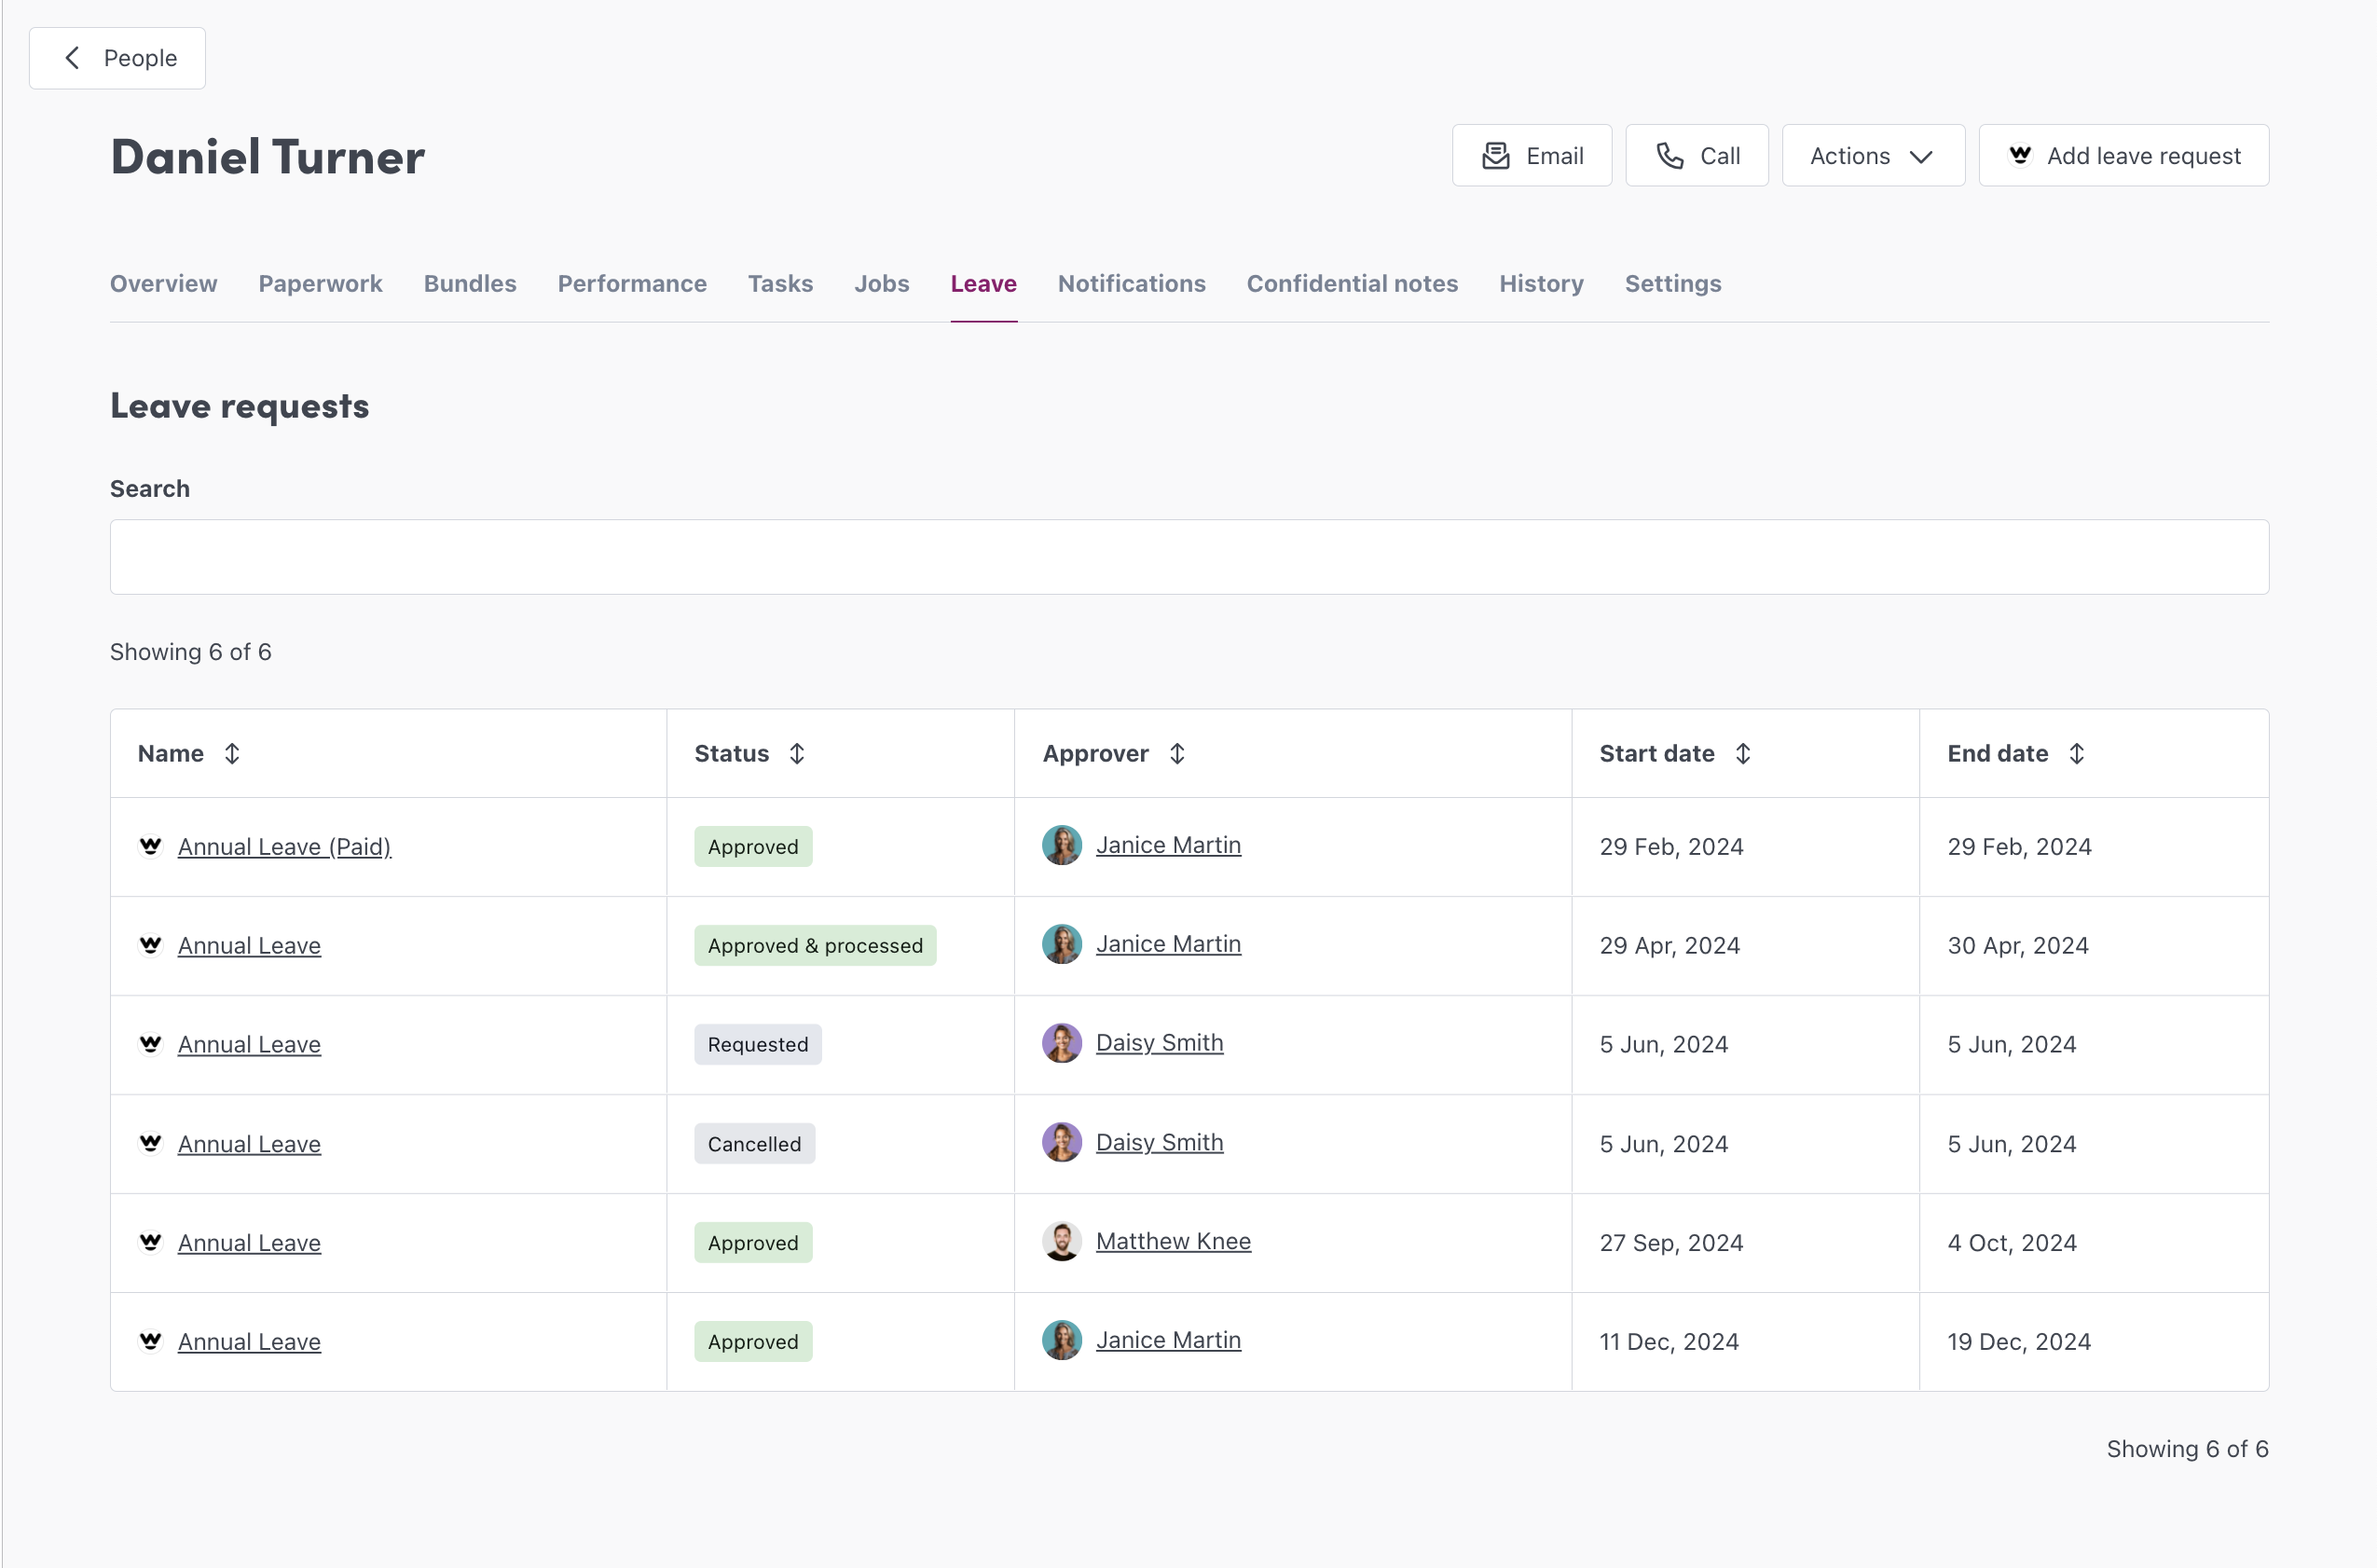
Employee self service leave requests
Allow selected employees to request leave. Leave requests have the following elements and configurations;
Elements
- Leave types available
- Additional notes available
- Start and end dates
- Attachment uploads (sick notes etc)
- Leave approvals - Enforce leave approvals for all leave requests
Configurations
- Optional start and end time
- Optional leave hour total

Configuring reference date
In order to configure the reference date;
- Access the integration using the left hand menu. Select Apps and Integrations
- Access your Myob Advanced integration
- Click Reconfigure and under Reference date select Configure
- Select the correct reference date.
Configuring work patterns
In order to configure each employees work pattern;
- Access the integration using the left hand menu. Select Apps and Integrations
- Access your Myob Advanced integration
- Click Reconfigure and under Work Patterns select Configure
- Any employees connected to the integration will appear. Edit their Work patterns.
Configuring leave types
You must manage the leave types in this integration to match your payroll system. In order to configure leave types;
- Access the integration using the left hand menu. Select Apps and Integrations
- Access your Myob Advanced integration
- Click Reconfigure and under Leave types select Configure
- Add, edit or remove your leave types
Leave Export
Export your leave requests in a format readable and ready for import by MYOB Advanced.
In order to generate an export;
- Access the integration using the left hand menu. Select Apps and Integrations
- Access your Myob Advanced integration
- Click Reconfigure and under Export select Configure
- Select New Export and set the export period. Your records will appear for reference
- Export
Connecting to the MYOB Advanced for the first time
Connecting a new integration in Worknice is a simple task that will only take a couple of minutes.
- On the left hand admin menu, select Apps and then App directory.
- Browse our marketplace of Direct integration.
- Select an app for integration by clicking View Details and then Create Integration.
- Click the Connect button
- You are now being directed to the app being integrated. Follow the prompts and select the account you wish to integrate to
- Once authenticated, click the Sync button
- Repeat this series of steps if you have multiple accounts in that app, or if you wish to integrate other apps.
Matching existing employees in Worknice to MYOB Advanced
In the integration view, you will now have a list of Remote records. This is a list of all people found in your integrated platform. At this point, you can map employees from the integrated platform to employees in Worknice. Follow the steps below;
- Next to an employee you want to match in Worknice, click Connect and choose the option Connect to an existing person
- Find the associated person in the list of Worknice employees. The name in Worknice does not need to match the name in integrated platform. Yay!
- The person connection between the integrated platform and Worknice will update to status = Matched (pending)
- Connect other people as desired
- Click the Sync button to begin the free flow of data between the systems for all matched people. Their status will change to Matched
You're all done!
If you have any questions please reach out to our support team at help@worknice.com or through the help section within Worknice.
More integrations?
Connect 100’s of apps together to consolidate data and do great things. Check out our marketplace